这几天下雪,外场飞行受影响在闲来无事所以就开始动手做啦这架三角翼!
1.没有现成的图纸只有靠自己的大脑和手啦!呵呵!
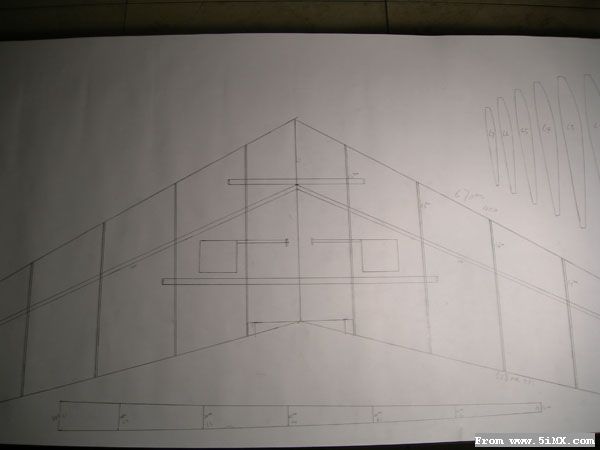
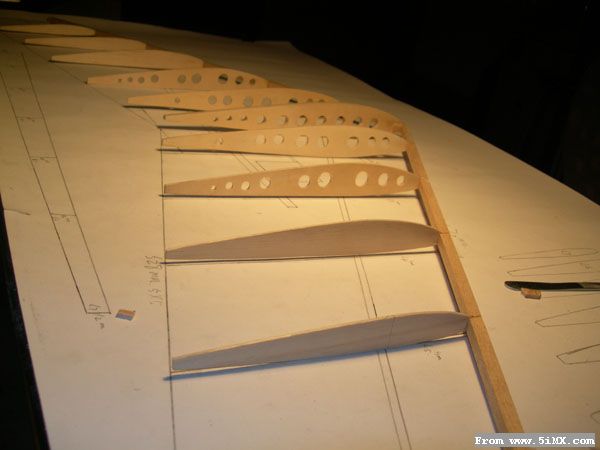
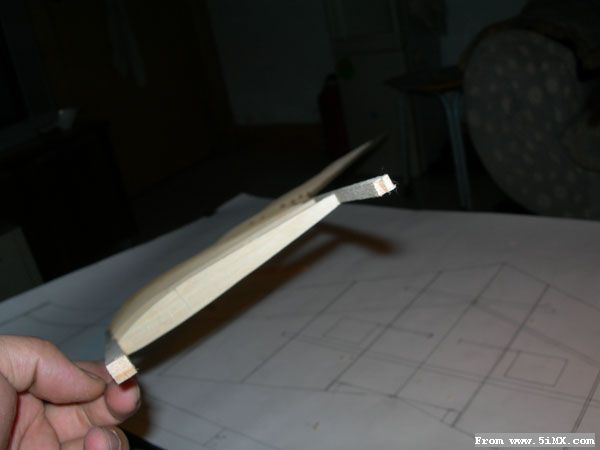
翼型也是自己画的
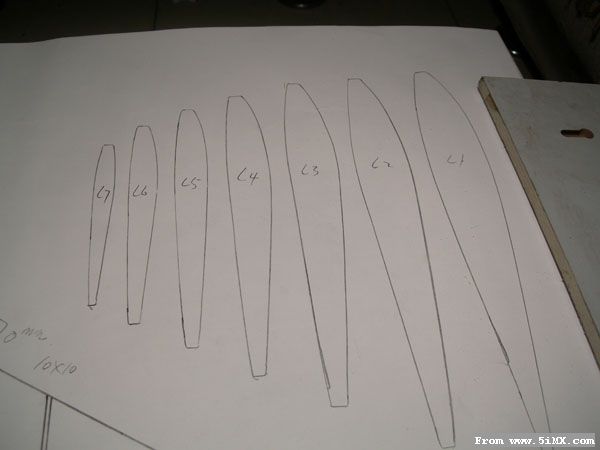
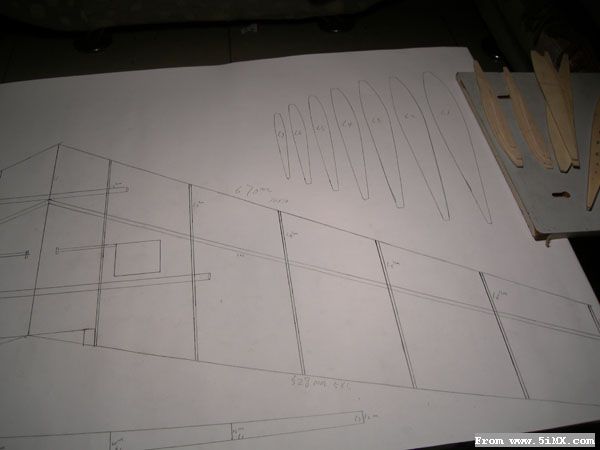
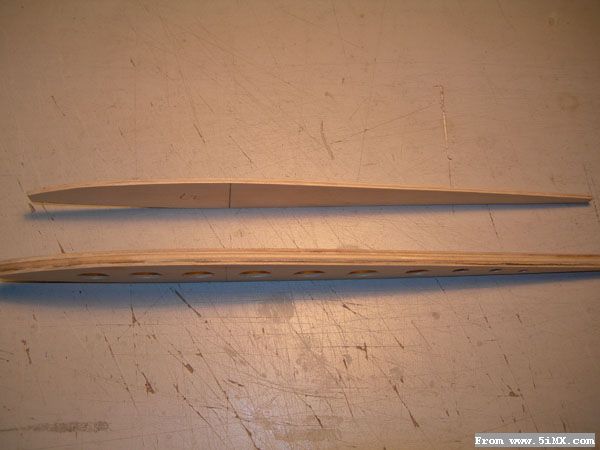
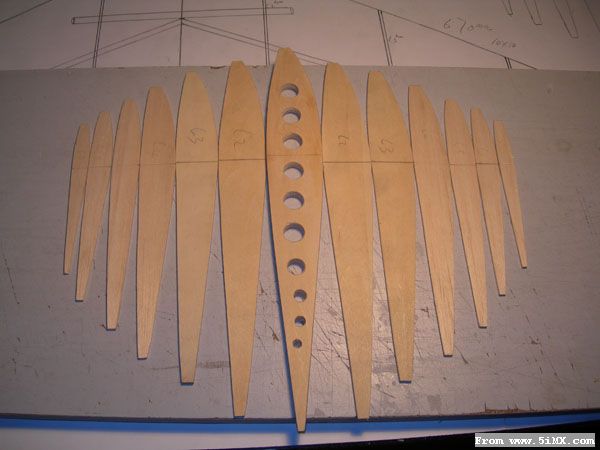
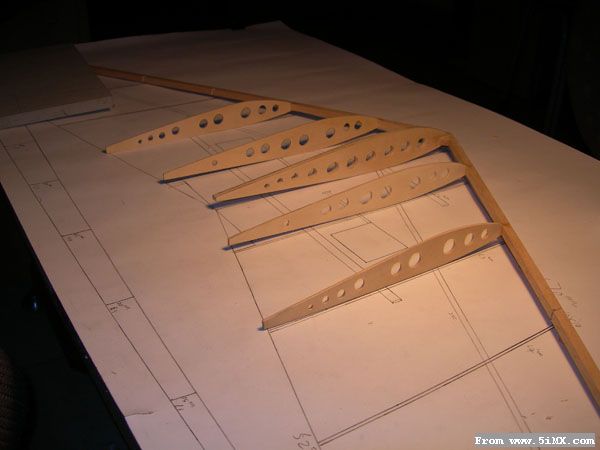
2.翼肋,一共7条,其中L1和L2.L3是用2毫米的层板来做的L1是3块粘在一起的为的是中间做加强时穿铝管用的起一个支撑做用.
L4-L7是2毫米的轻木做成,由于层板较重所以开啦减轻孔,轻木没开.
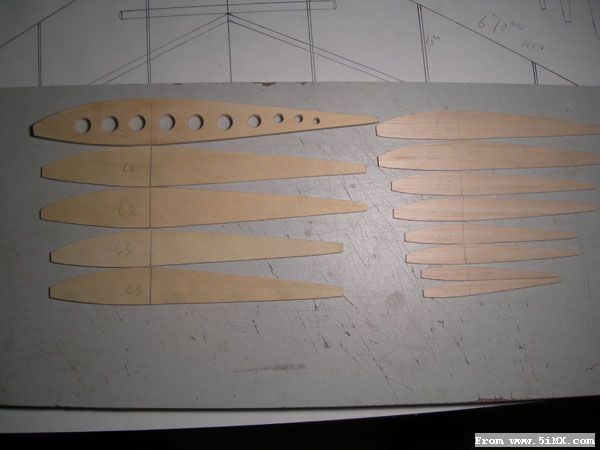
这就是L1肋3块粘合在一起后挖孔
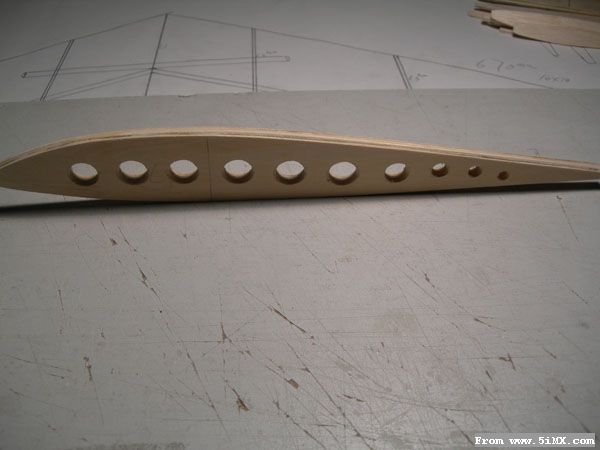

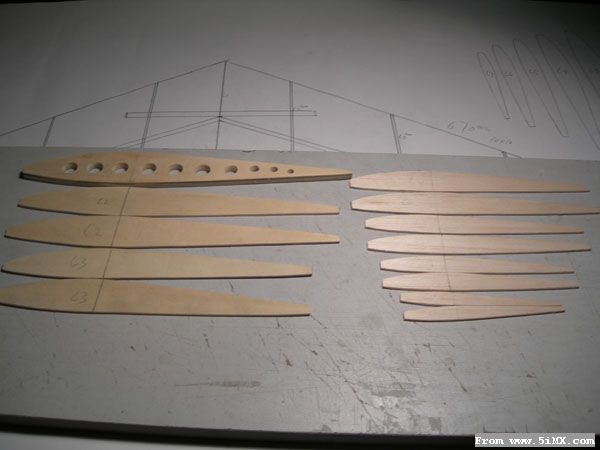
看看后度!
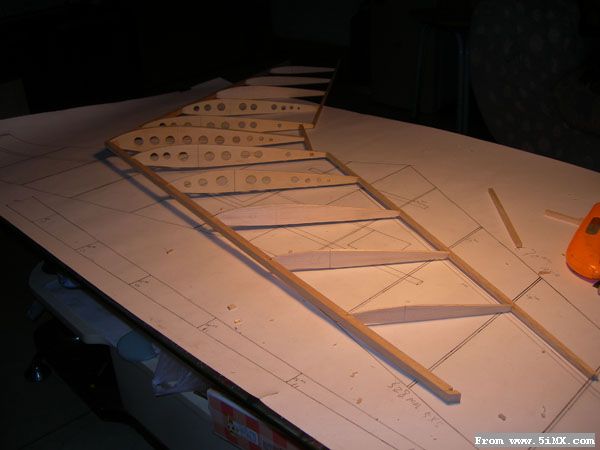
全部的肋条
把剩下的L2和L3也挖啦孔
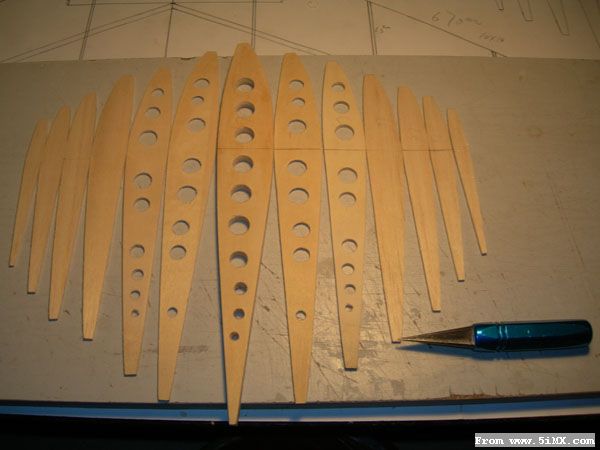
排排队
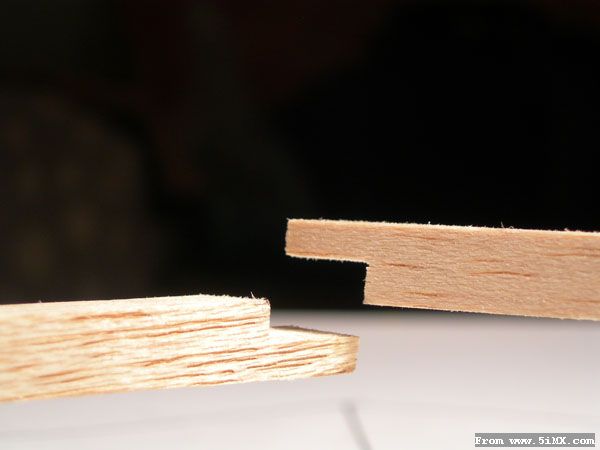
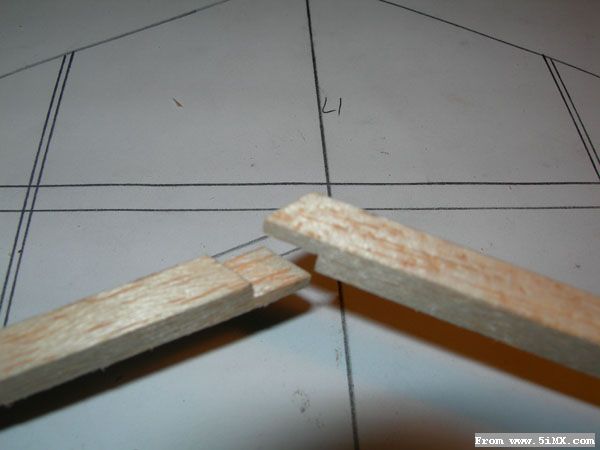
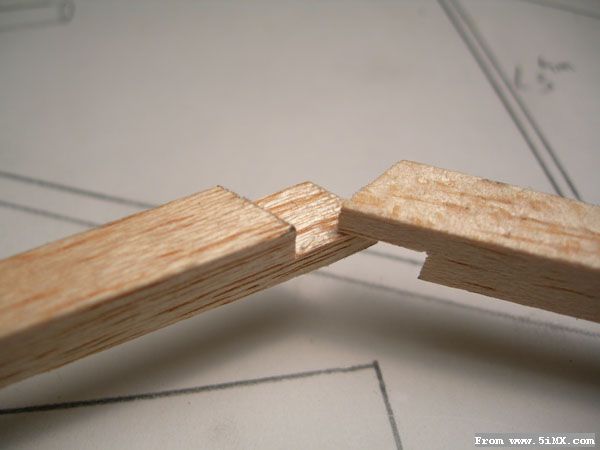
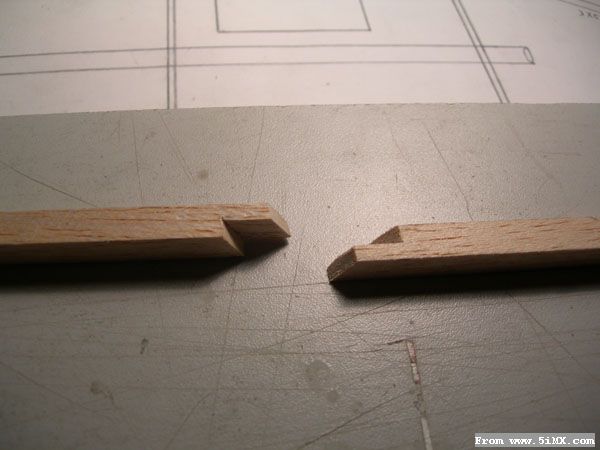
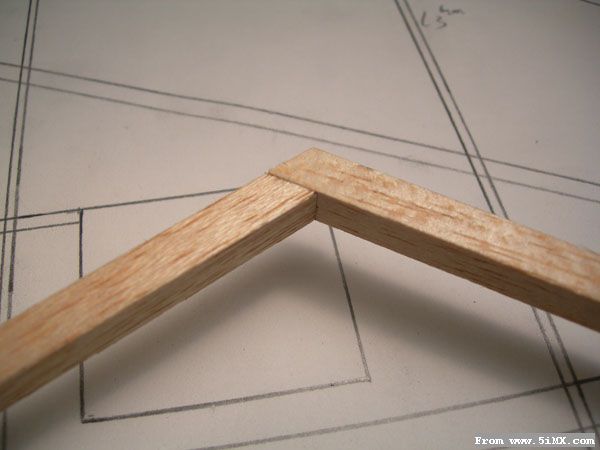
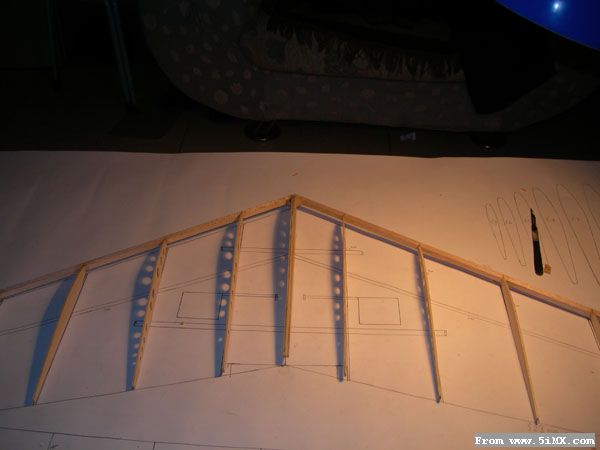
3.机翼前缘,用10*10的轻木搭接而成,首先在1:1的图纸上量好角度而后把上下粘合处多于的木料裁下在粘合在一起,这样前缘的角度就不会在变化啦!

4.接下来就开始组装啦!
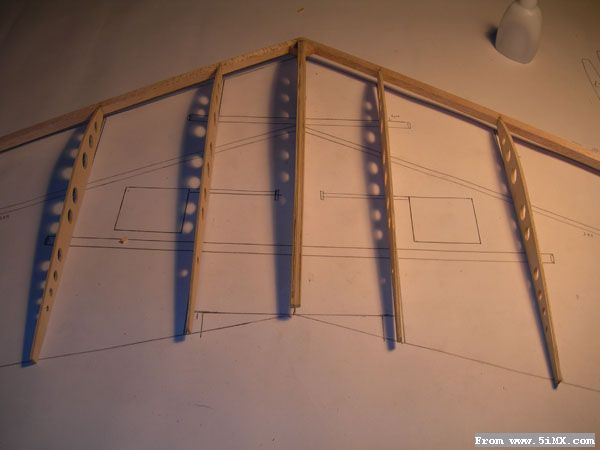
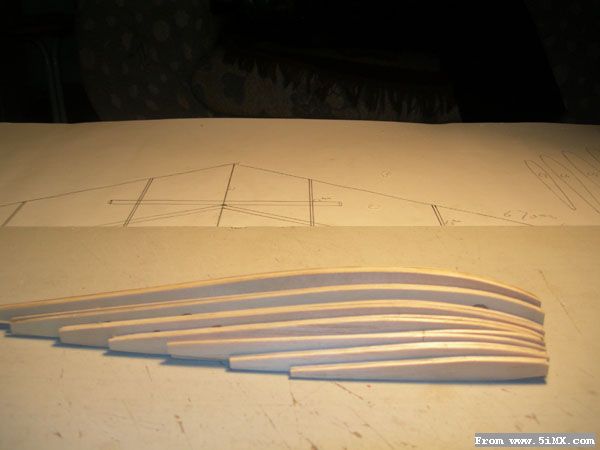
按照图纸间距把前缘木条锯出宽2毫米深4毫米的槽用来插接翼肋!
把所有的肋全部粘合好!
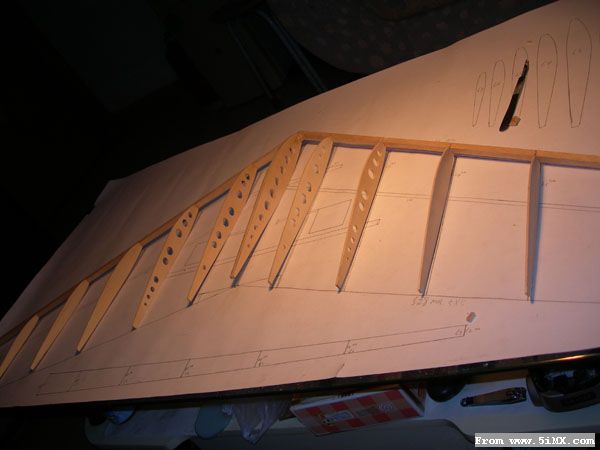
5.中间翼肋的连接!把左右两边L2肋分别开出5*5的方型口用来穿插木条

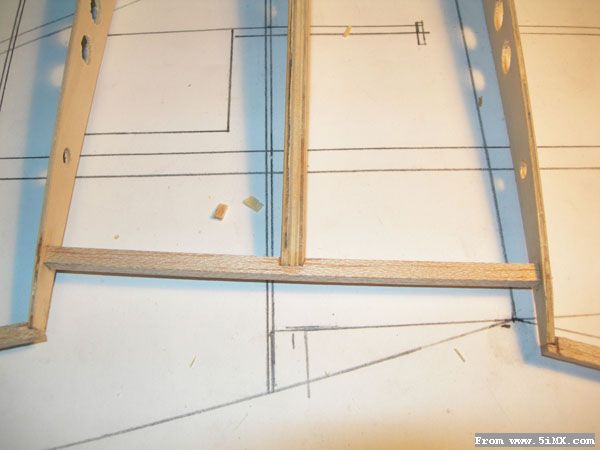
6.把机翼后缘也粘接上,后缘用5*5的轻木条!
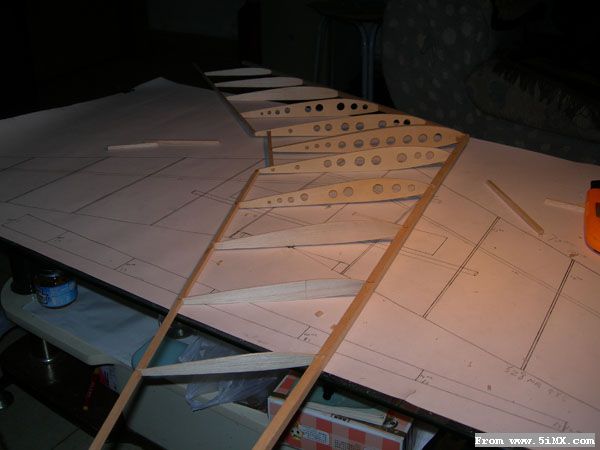
看看整体效果!

大家看的好别忘啦顶呀!谢谢啦!今晚将继续上传制作过成,又是一夜呀,希望大家继续关注!
[ 本帖最后由 ccg 于 2008-2-29 03:16 编辑 ] |


 /2
/2 


 发表于 2008-2-27 23:56

 收藏
收藏 楼主
楼主 发表于 2008-2-28 08:20