|
|
Flying
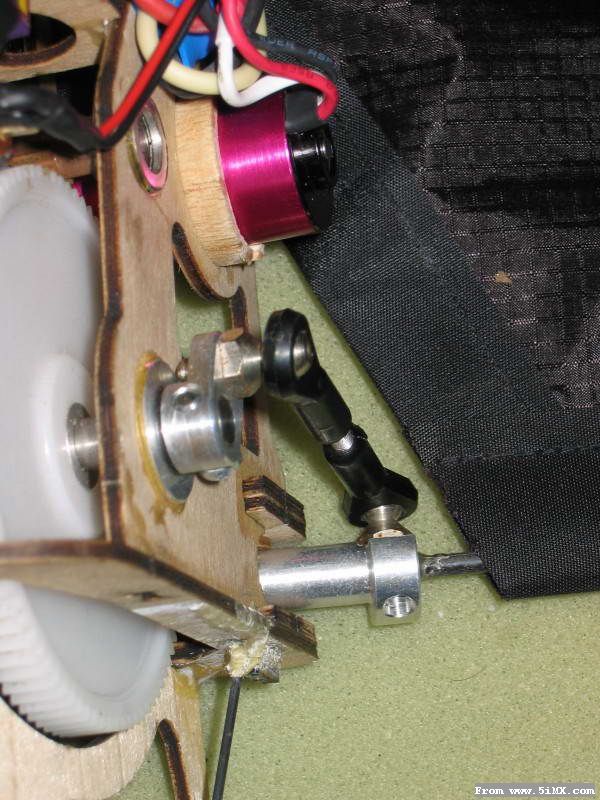
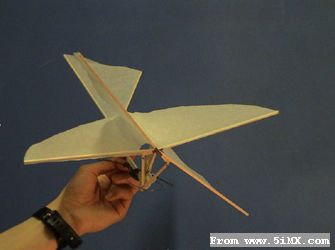
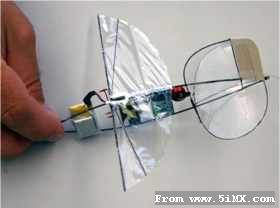
I had some encouraging flights right from the offset but they were only that. Initially the crank geometry meant I was loosing a lot of power due to the toggling action (which I countered with a stop) but the stability was nice. It was hard to keep in trim as well, as in the early stages it was throttle only and the tail was held by a length of ali tubing. The crank geometry was changed and there was a good improvement with some better flights, including climbing flight however I was dogged by mechanical failure. This was fixed with the crank driver and gluing of all parts involved in the gearbox. Later it was improved further with a beefed up bumper and the gearbox stiffening rods. The tail was replaced with a CF rod frame and 0.5mm depron covering and the ball joint added.
At this point I got some very encouraging flights. Still a few mechanical problems but mainly crash induced. There was one thing for it and that was control.
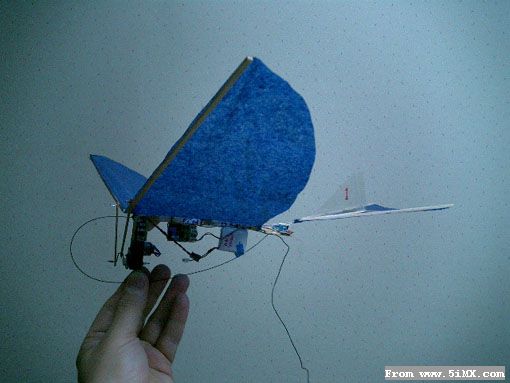
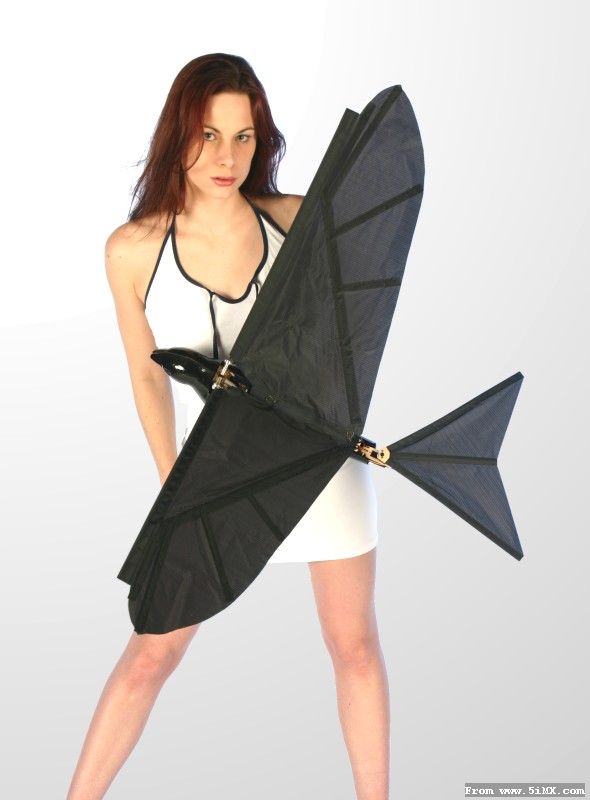
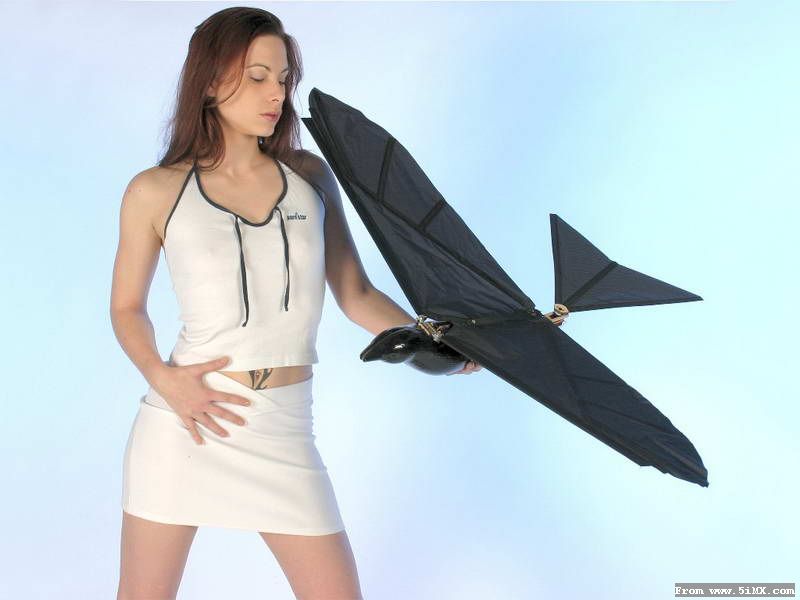
Once the ornithopter is basically trimmed by adding tip weights or crank tweaking or both the most important setting is the elevator. The hole tail was cranked up much further than seen in these pics but is was critical for good flights. Too much and the flight it stally and control is poor. Two little and the flight is very short indeed ending on the floor. Just right and the model moves purposely through the air. I'll add trim tabs to achieve this later or perhaps elevator. Anyway I tend to give the model about half throttle on the hand launch and give it a fair heave ho. I then throttle up or down depending on the elevator trim situation. When it was right it was a doddle to fly. Very controllable and capable of figures of 8 easily in the smallish hall it was flown in. It reached the ceiling on more than one occasion and I had the throttle back, not something I ever expected. The hardest part is orientation, it made me feel a little sick after a while. Oh that was 3min and 50seconds by the way. |
|


 /2
/2 


 楼主
楼主


 发表于 2007-5-14 13:40